Another Fun M4H Before and After | M4H Action Tutorial
I love doing these fun little recipes for you all! You get to see how my actions work, how I personally tweak and process and you get an idea of what my before photos look like! I decided to choose a photo from a recent engagement session so that you would all get a feel for how the tool box actions work well for smoothing out the edges and also to show that they really can be quite versatile. You don’t NEED to specialize in Children’s photography to use these!
This particular photo is from a on location Engagement Session I had the pleasure of shooting while visiting the great city of Las Vegas, Nevada! I had originally intended to do a session with them on the strip but after flying over Red Rock I was completely enthralled and we decided to designate that “our spot!” We had a blast and got some fun images! I choose one of my favs because you really can feel the connection between them! That and they are pretty hot too huh?! LOL
This photo was taken with my Canon 5d Mark II and 85 1.2L Setting are:
F/1.2 SS/1/4000 ISO 100
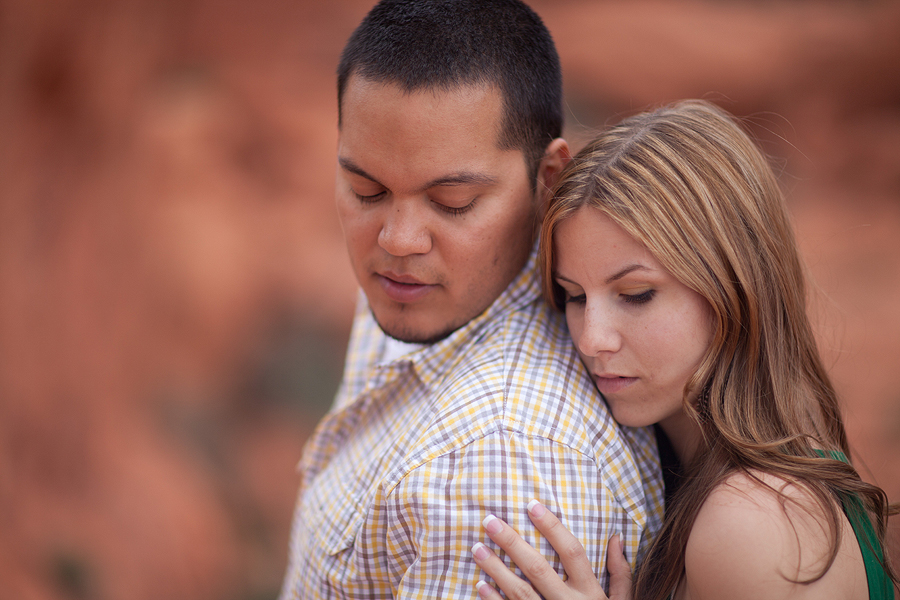
Starting out we have a bit of an underexposed photo. There is a red cast from the rocks and G’s (the dude) skin tone is blending a bit.
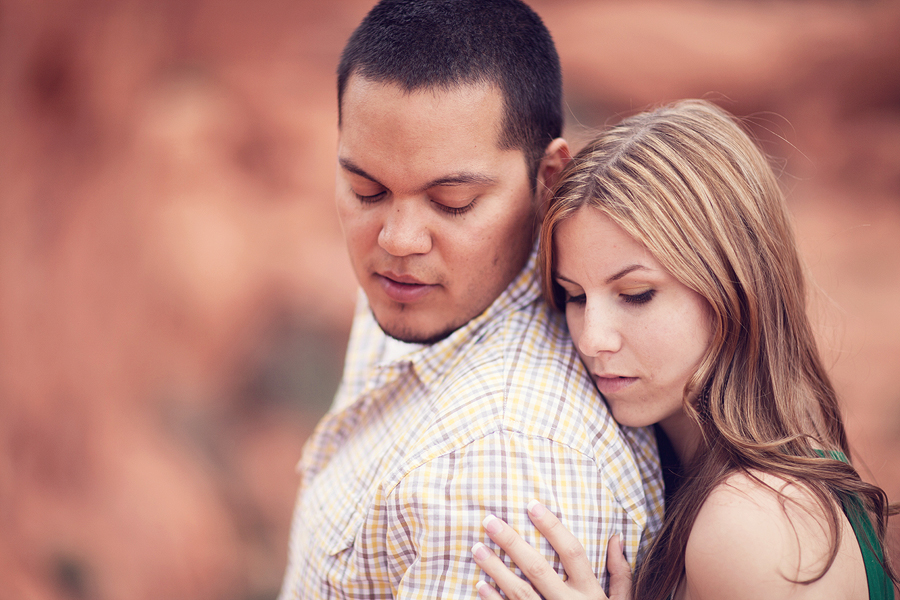
Now I have run from the Action set “Fable” found HERE the action “Fiddlesticks” For this particular photo I have turned off the Boost Reds adjustment layer. I have turned the Pop adjustment layer down to 33%.
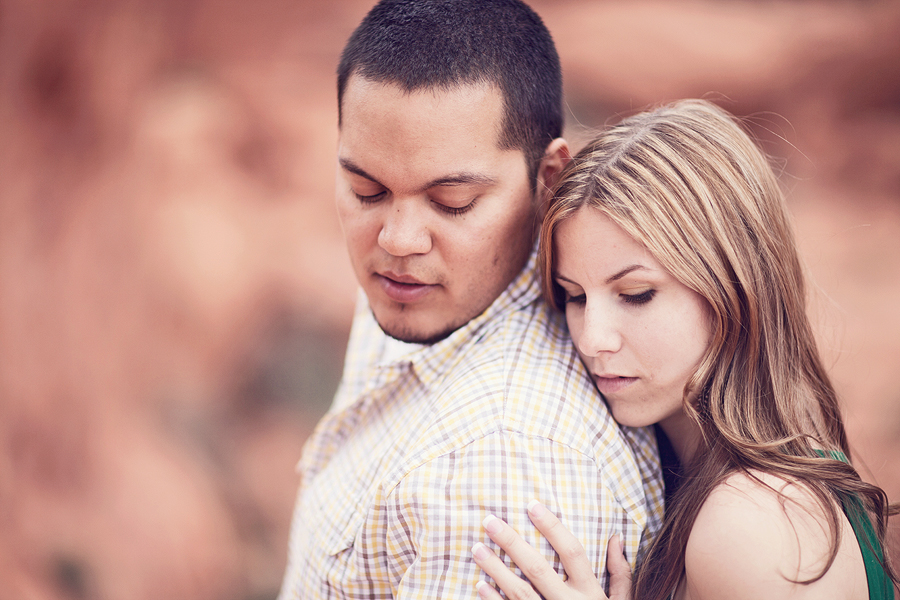
Now to reduce some of the reds in the skin tones (especially G’s) I ran Stark Contrast TWICE from “A Very M4H Tool box” and flattened. I then ran shadow control and adjusted the two inside adjustment layers to taste. I flattened again and ran Midone Contrast and pulled the opacity way down to my liking.
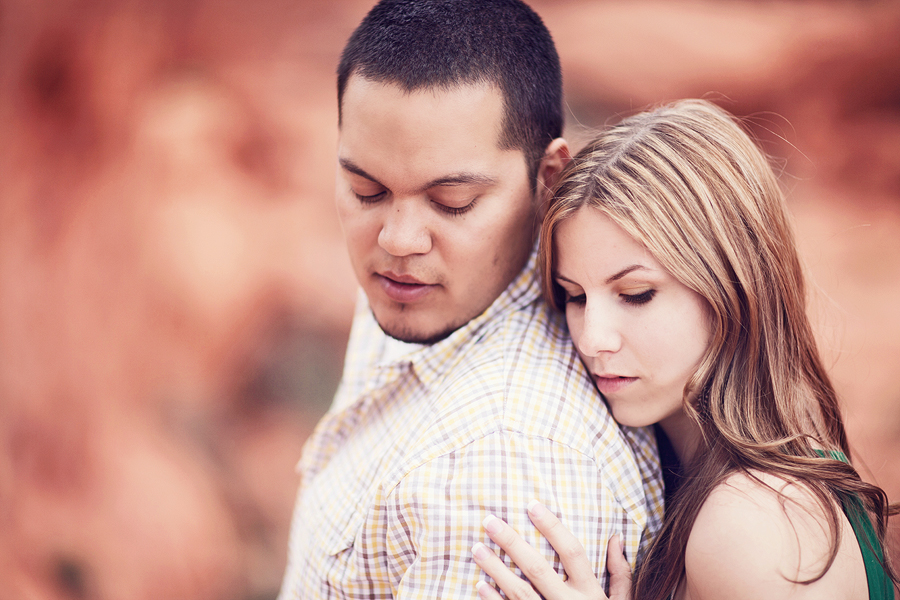
Now from “The Ultimate Photographer’s Tool Box” I ran the Air Brush Me Action and when it stopped midway (You can use it right then if you choose for a more subtle airbrush or keep going for a stronger one) I hit play again and then took a soft brush at a lower opacity and went over the skin a couple times till it looked natural without being to much. I then ran soft pop and erased the action totally off of G’s skins ad in some of the harsher shadow areas. Last I took Bring on the Color and snagged a soft brush again and brushed at a lower opacity over the rocks in the background and K’s lips to bring out a tiny bit more pop. We are almost done!
Quick Tip: By Soft Brush I mean a round fuzzy brush opposed to a hard circle. It keeps things natural!

Last in the tool box I used the Natural Vignette action and brushed over the rock area towards the edges with a soft brush at a lower opacity to pull focus in on our beautiful couple and then ir ran the Painted China Doll action and turned the Optional Lighten Layer totally off. I then brushed over K’s Hair and Lips. And thats it!! The tool box actions really helped bring out the beauty in this image!

Feel free to scroll up to the top as well to compare and see the before larger! I hope this helps a little! All actions featured here can be purchased http://www.myfourhensphotography.com/shop



Thank you so much for doing these!