I am all about traditions…especially traditions that concern photography and my children. Like most busy Mama’s, I just don’t realize how much my children are changing right before my very own eyes until I am sitting down with an album in my lap with my jaw on the floor. It happens in such a subtle way. Time truly stands still for no one.

So what is this all about anyway?
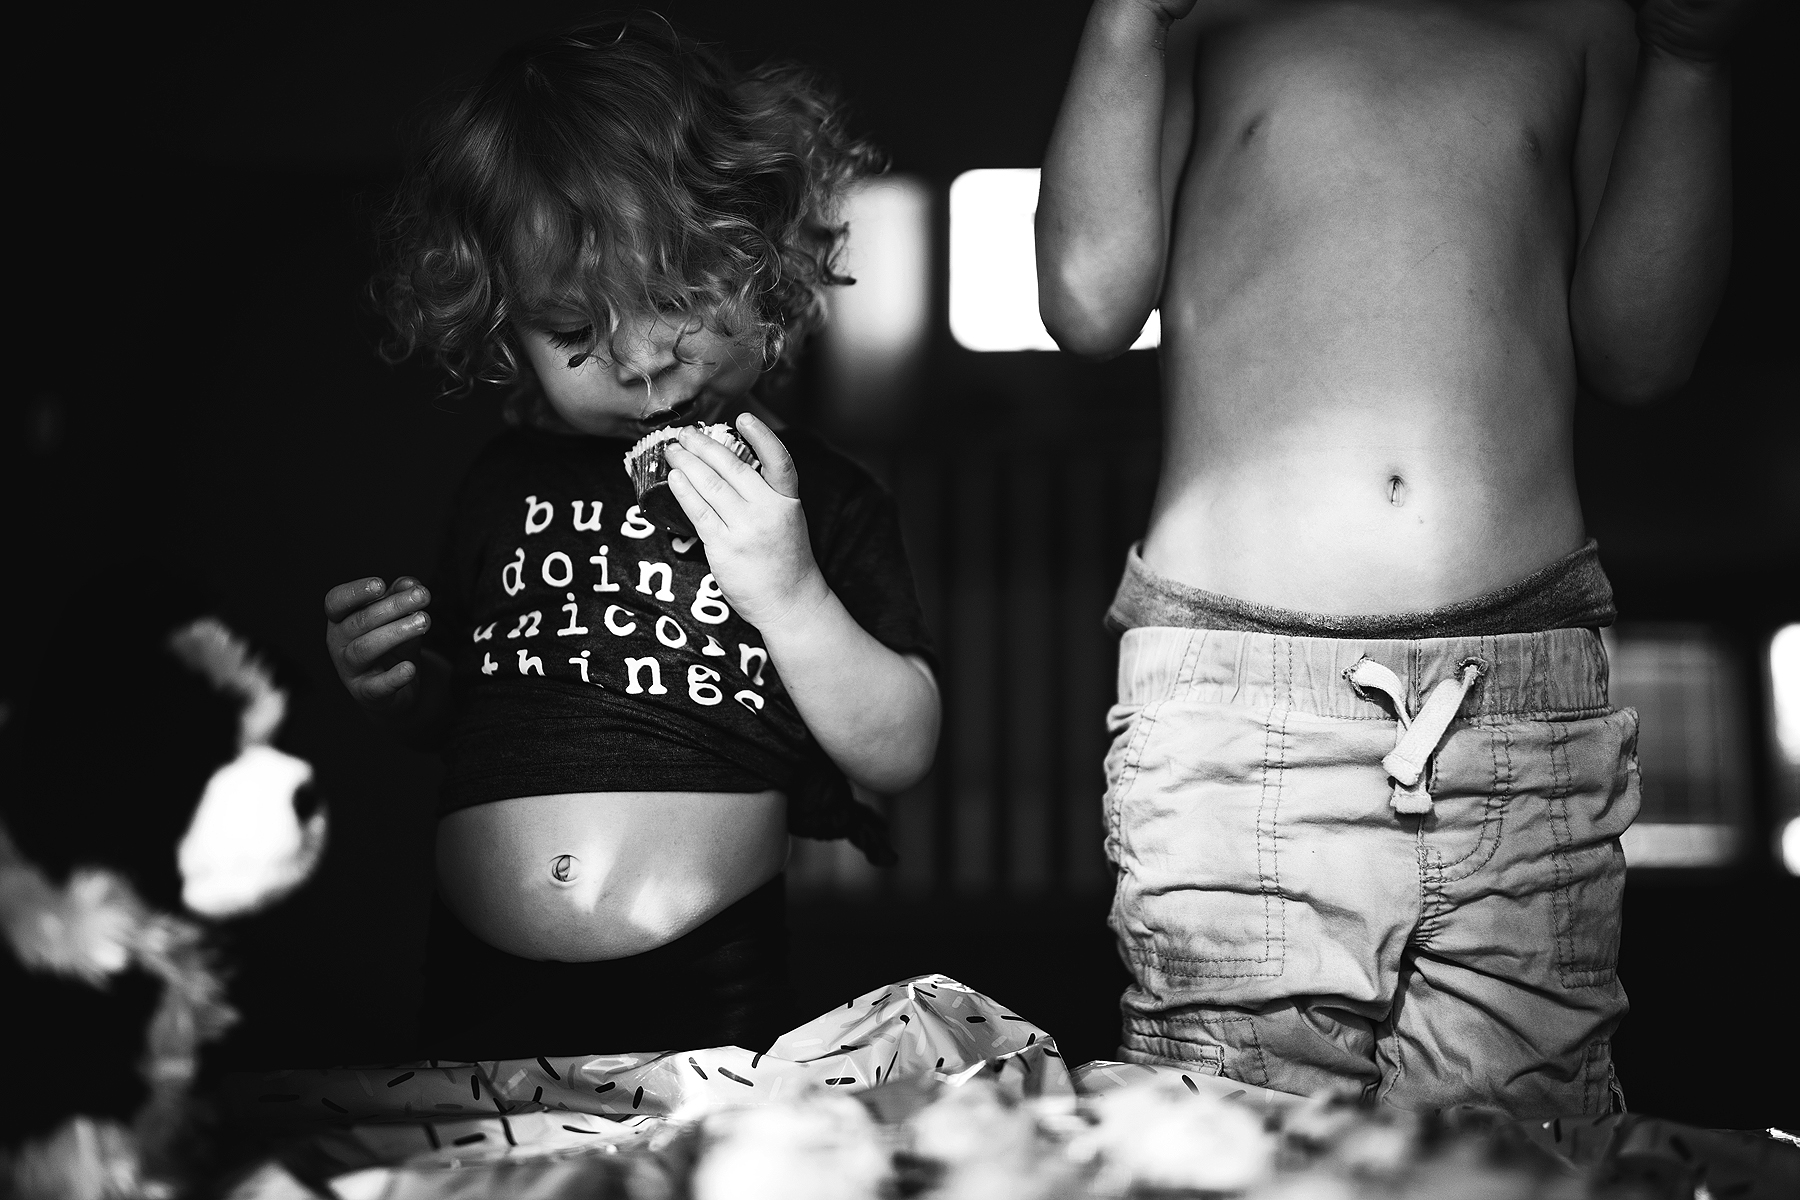
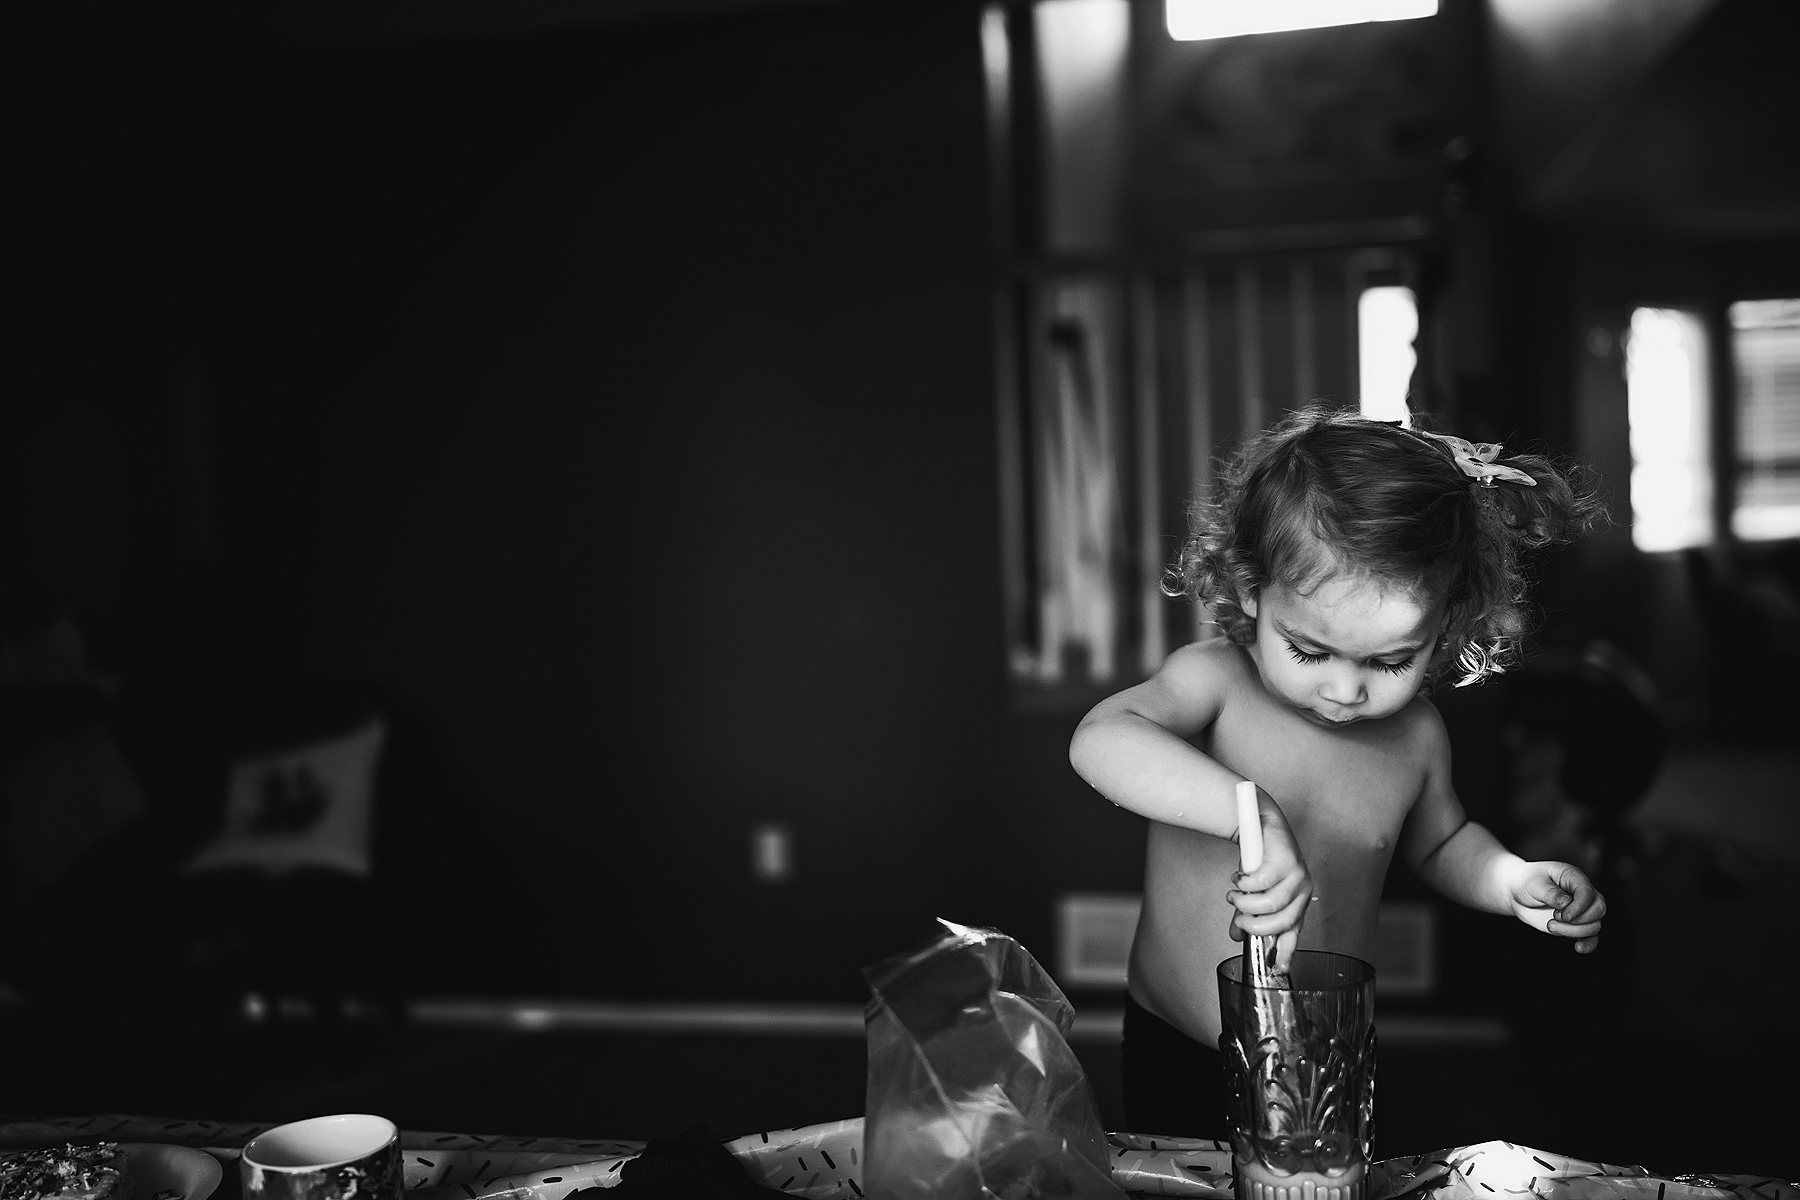
A few years or so ago, I decided to do something special so that the we could easily reflect on how our children and their features have really matured and changed. My kids had no interest in standing still or cooperating long enough to get what I thought I was after, so I just let them come as they were.
That included bedhead, messy faces, distracting clothing or anything that really broke the rules of pretty portraiture.
It was the best thing that could have happened. I do choose to make the images black & white to keep them timeless and somewhat cohesive. Now, I try to do this every year. I skipped a year last year because we had just had a baby and I was exhausted and now I am so sad that I didn’t record Daisy’s fresh newborn face or the year between Ezra’s one year old self and his much more mature three year old features. It is even more crucial in those early years because it all happens so fast.
I will continue to do this into adulthood. If you don’t have children you can do this as a self portrait project, photograph your own parents, grandparents, your pets… anything.
There are two simple parts to this tutorial. First you are obviously going to take your image.
Then you are going to process or edit it. You can edit your image in any means you typically would. It doesn’t even have to be black and white but I am going to share my process with you just in case in you’re curious.
And if you are interested in grabbing the actions I use in this tutorial please feel free to use the discount code: M4HFriend.
Here’s How I take my images:
What you will need.
-A DSLR camera or a camera with Manual mode.
-Your preferred portrait Lens.
(I use my 35L or my 50L.) Don’t be afraid to get creative however if you want something a bit different. You could totally use any other focal length or even play with a special lens such as a lens baby etc. This is just what I do.
-Editing Software. (Lightroom, Photoshop CS/CC or Photoshop Elements.)
Taking My Images:
Note: I don’t fuss over clothing or their hair. I want them to be just as they are so I can remeber as much about their personality as possible when I look back on these year after year. You would be surprised at how much changes in such a short time. For example I have one child who never brushes her hair. I have to do it or she would go around with it matted to the back of her head. I insist she brushes it for leaving our home but around the house I pick my battles. I let her bedhead be for the images.
Lighting:
I use natural light for these portraits. I like to use my front door as my house is a bit darker. It lets in more light. Time of day isn’t super important as the front of the house has a porch and the strongest light of the day is the afternoons in the back of the house. You can do this with setting your subject in front of your windows, in front of sliding glass doors, right in your garage door even. The light in these portraits is somewhat soft and flat and not overly dynamic, but it works for these kinds of images as it is flattering, creates a catch light in the eye (what gives the eye a bit of sparkle) and is easy to work with.
The best way to make sure the light is working is to stand your subject right up against your light source (window/garage door/ sliding glass door etc.) Now move between them and your light source. Have them slowly walk backward until the light in their eyes is nice and the light is even and not harsh on their skin. You also want to give yourself enough space to actually photograph your subject.
Settings:
In these kinds of portraits a shallow depth of field is necessary. You want your subjects face and features to be sharp while the background to be creamy and smooth and as distraction free as possible. Try to take the image with very little clutter or a blank wall behind them if you can.
I use an aperture of about 1.4 up to 2.0 for my portraits depending on my lens. Back up just a bit if you can. A 50mm focal length works nicely because it really creates gorgeous bokeh (that creamy background) while preventing distortion that wider angle lenses can create (an exaggerated size nose etc.) You are also far enough away so you can get most of the features sharp and in focus. When too close with such an open aperture you can end up with a blurry nose etc. With all that being said perfection takes a back seat to honesty here. If something isn’t perfect but it best portrays my kids with a facial expression they are making etc. I will keep it. I do take a few portraits to choose from when creating this series of each kid.
Your shutter speed and ISO are secondary and should just support your aperture as that is your creative setting and most important here. Choose in regards to what you need to create a good exposure.
For the image of Sophia above my settings were:
Canon 35L II Canon 5d Mark IV
F2 1/250 ISO 100
Really that’s about it.
As a recap here are a couple of things that will help make your mini shoot a success:
Quick Tips:
-To get natural expressions talk to your children while photographing them. Ask them questions about things you know they are interested in.
-When shooting indoors make sure all of the inside lights are off so you don’t have mixed lighting which can be hard to edit and unflattering.
-Don’t make your kids smile. Just let them be as they are in whatever mood they are in.
-If you are photographing multiple children or subjects try to keep the same perspective each time.
Processing My Images:
I use a quick black and white action in Photoshop known as Editorial in the Journey collection and then use the helper actions Mega Matte in Memento. (Matte 1 and Matte 2) You can find those actions HERE and HERE. Please feel free to use the special tutorial code M4HFriend for 40% off any of these sets if you don’t currently own them or would like to grab them.
Please note while Memento actions largely work with Elements, The bonus actions Mega Matte from Memento is ONLY compatible with Photoshop CC/CS versions.
My Movie from Sarah Cornish on Vimeo.


If you missed the portrait series for 2017 of all six of our children, you can find them on the fan page. Thank you so much for peeking in! I hope you found this useful. I will be sharing a lot of tutorials through out the year from basic to more advanced as I am hoping to continue to build on our already amazing little community and pay it forward. If there is something you might want to see, feel free to drop a little love in the comments here. If you haven’t already I would also love for you to connect on the fan page so you can keep your eye out for more fun and helpful tidbits that help me quite a bit as a photographer (and Mama!)
And if you think someone might find this helpful, feel free to share!
Much love!!
Sarah