New Freebie Action Alert on FB | Another Quick Action How to
I have a little surprise for you all!! I like to keep the freebie fresh over at the My Four Hens Photography fan page! It is just my little way of saying thank you for being so amazing! To locate it click where it says My Four Hens photography fan page up right there (its all linked for you) and then make sure you “like” the page up top. Then head to the left side where it says exclusive and navigate from there! I love that you share how you use the actions and want to encourage you to come and hang and even tell your friends so they can do the same!! If you would like to share my page at the bottom left corner there is the word share and if you click that you will be able to do so! Also be sure to check inside the freebie for a very special surprise!
In honor of how amazing you all are (and impending summer time and mother’s day) I have put together a mini set of three actions that will breath fresh life into your images and hopefully give ya something to play around with. While they were inspired by backlit photos you do not need backlit photos to use them. They are actually very versatile and you can use them with just about anything! I am gonna walk you through quickly on how I use them personally as well as give you a couple quick tips because I have made a small modification to how the actions will work. (Promise super easy to understand!) The actions are compatible with Elements versions 5-9 as well as Photoshop Cs-Cs5.
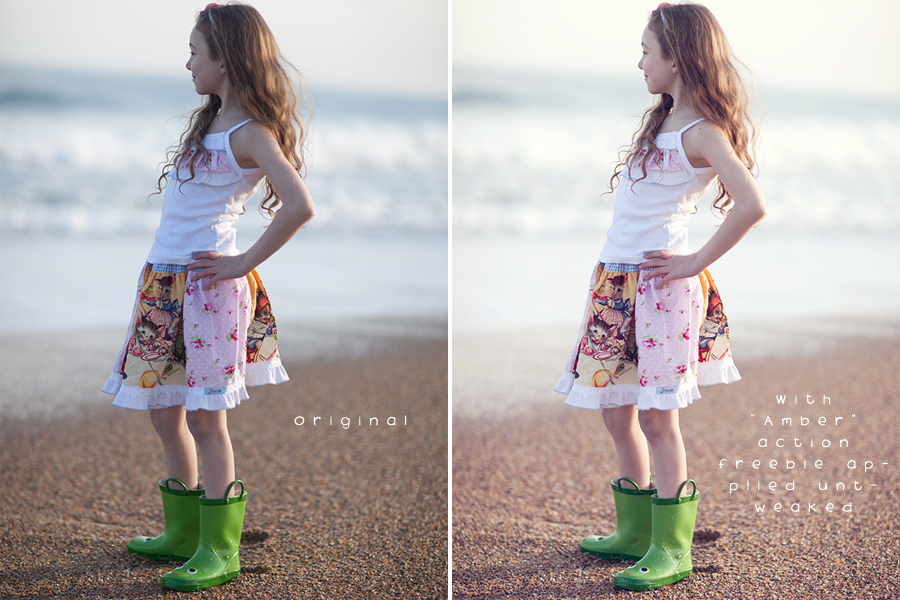
This is an image of my little girl at the beach. All i did hear was run the action “Amber” from the Sun and Sand Freebie without any adjustments.
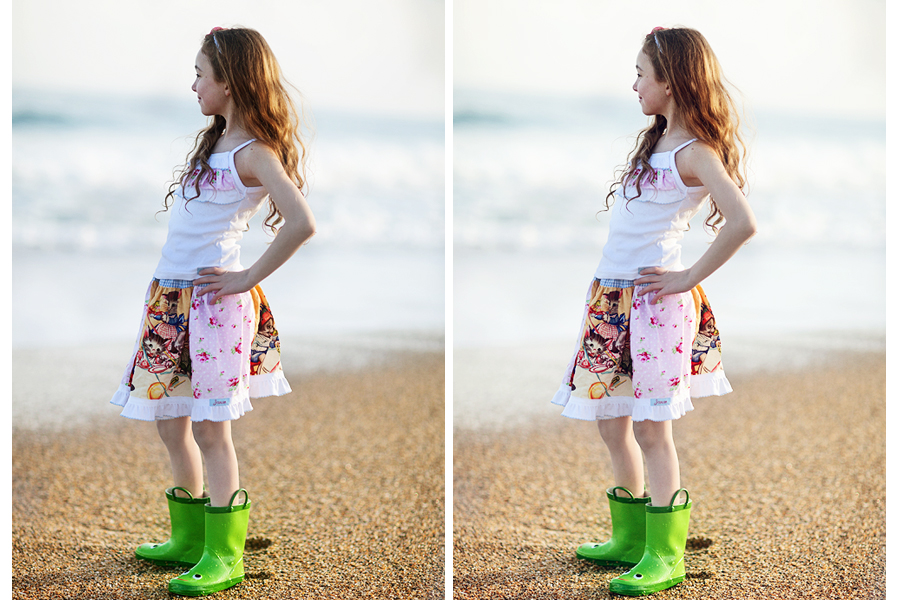 In the photo on the left I ran the second freebie “Pop My Backlight” and then flattened and ran “Paint on Glow” took a brush at about 40 percent (Largish size) and painted over my photo. The second photo (the right side) I ran “Amber” a second time and then unchecked each adjustment layer under the group and reduced the entire action by reducing just the folder opacity up top to about 30 percent.
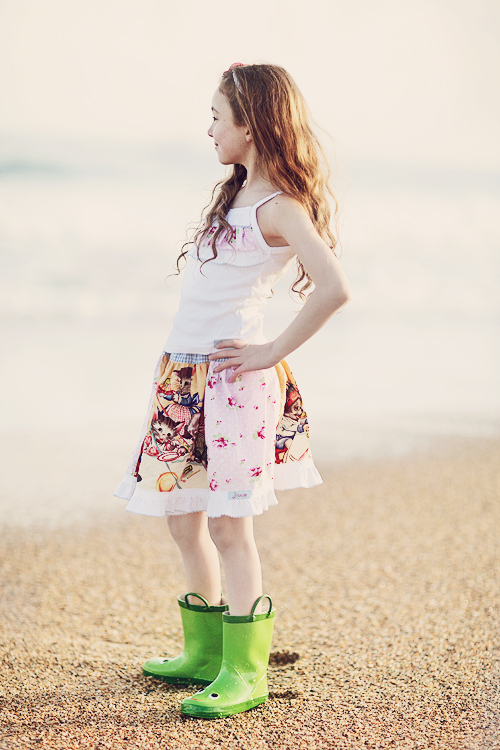 Last I wanted a more vintage feel so I ran Dove from the action set Fable available for purchase in the shop at http://www.myfourhensphotography.com/shop. 🙂 I grouped the layer off myself (since it isn’t grouped) and to do that in Cs versions only unfortunately I went to Select up top and then chose All Layer and then went to Layers up top and selected Group Layers and then I tweaked the entire group opacity (it looks like a folder icon) to about 60 percent. From there I just ran Pop my Backlight one last time and reduced that opacity to 30% and voila all done!
You can use these freebies in combination with any bought and paid actions in the shop perfectly as well or more then once for a more dramatic effect just be sure to tweak!!
A quick tip for this new set is I have decided to have two different versions in the one action, one is grouped and one is not. The grouped set is for those that have Cs and up versions and the ungrouped layers are for those with elements. To use the actions successfully you will have to uncheck either the layers on the bottom outside of the group to turn their visibiality off OR the Group up top. If you don’t uncheck the group folder when you go to lower the opacity of the adjustment layers underneath it will appear to not to do anything and vice versa. The group also wont work correctly if dont uncheck the the layers underneath if you choose to use the group instead. To use the group AND adjust the layers just open the group up and the layers will all be there as well. Elements users you can also use the grouped folder to adjust only the entire action as a whole if you wish! I hope this makes sense lol!
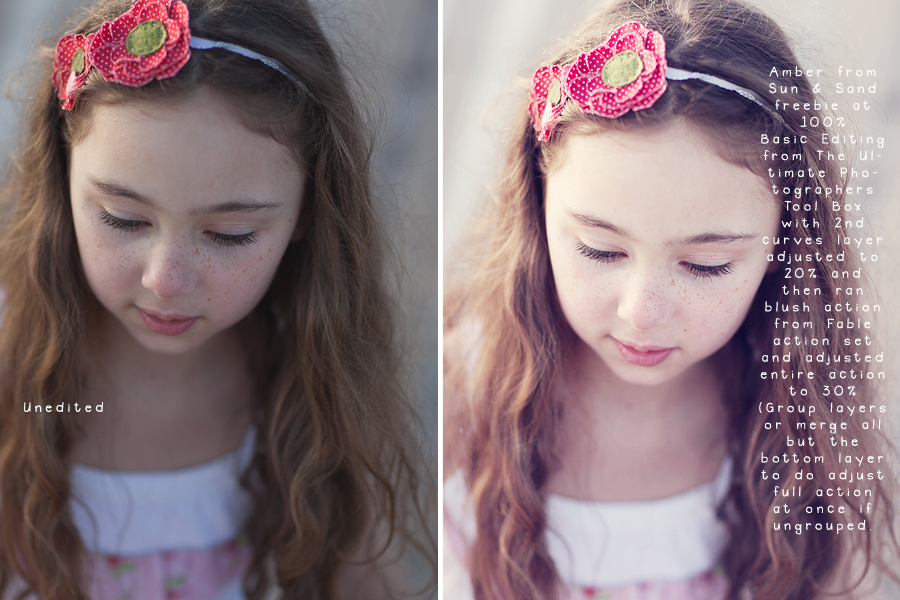
And here is one more quick example using the Amber freebie action along with Basic Editing from The Ultimate Photographer’s Tool Box and Blush from the Fable action set!
